
2026-07-27
Convert JPG to SVG in GIMP: Paths Tool Tutorial & Free Online Shortcut
GIMP is a free open-source image editor that can convert raster selections into SVG vector paths. Learn how to export GIMP paths or use instant online vectorization.
Written and reviewed by
Shahab Uddin, Founder & Product Lead. Shahab built JPEGtoSVG.com and reviews the site's conversion guides, presets, and SVG quality advice.
Quick Answer
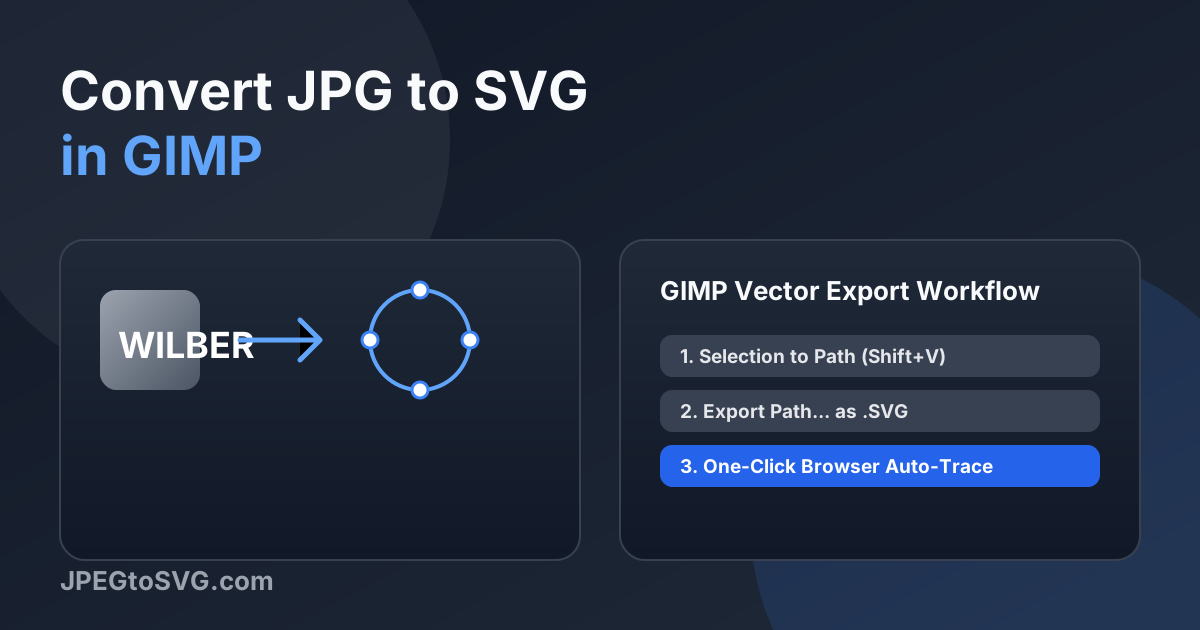
- In GIMP, select your image area using Fuzzy Select or Select by Color, then click Select > To Path.
- Open the Paths dialog (Windows > Dockable Dialogs > Paths), right-click the path, and select 'Export Path...' to save as an SVG file.
- For faster auto-tracing with color controls, use JPEGtoSVG.com directly in your browser.
GIMP (GNU Image Manipulation Program) is one of the most popular free photo editing software tools. While GIMP is primarily designed for raster bitmaps, it includes a built-in Paths tool that can turn image selections into SVG vector paths.
Whether you are digitizing a logo or converting graphics for print, this guide shows you how to export SVG paths from GIMP or use web-based auto-tracers.
How to export an SVG from GIMP using Selection to Path
Follow these step-by-step instructions in GIMP:
1. Open your JPG file in GIMP.
2. Select the object using the Fuzzy Select Tool (U) or Select by Color Tool (Shift+O).
3. Go to the top menu and click Select > To Path.
4. Open the Paths panel (Windows > Dockable Dialogs > Paths).
5. Right-click the newly created path layer and click Export Path... to save your .svg file.
Tips and best practices
- Feather your GIMP selection slightly before converting to path if the source image has jagged pixels.
- Use Inkscape alongside GIMP for advanced vector path editing.
FAQ
Does GIMP support auto-tracing like Inkscape?
GIMP converts active selections into paths, but does not have a multi-color auto-tracer built in. Inkscape or JPEGtoSVG.com are better suited for automatic color tracing.