
2026-07-14
Trace Bitmap to SVG: How Vector Tracing Works
Tracing a bitmap to SVG converts a pixel image into vector paths using brightness, edge, or color detection, either in Inkscape's Trace Bitmap dialog or an online tool.
Written and reviewed by
Shahab Uddin, Founder & Product Lead. Shahab built JPEGtoSVG.com and reviews the site's conversion guides, presets, and SVG quality advice.
Quick Answer
- Tracing a bitmap to SVG means converting a pixel-based image into vector paths a computer can scale infinitely.
- Inkscape's Trace Bitmap dialog offers brightness cutoff, edge detection, and color modes to control how the image is vectorized.
- For quick, clean results many people use an online auto-trace tool instead, then do light cleanup on the paths.
Table of contents
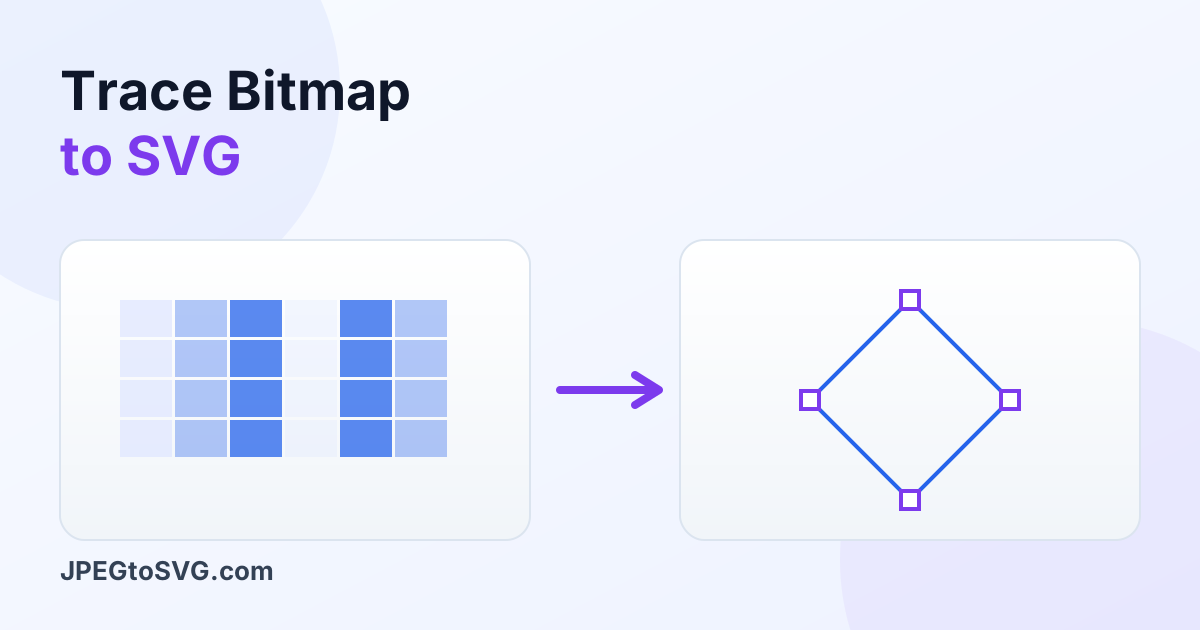
The phrase trace bitmap describes the core process behind every JPG-to-SVG conversion: taking a raster image, which is a grid of pixels, and rebuilding it as vector shapes. The software analyzes the image and draws paths that follow its edges and color regions.
Inkscape popularized the term with its Trace Bitmap dialog, but the same principles apply to online converters. Understanding the tracing modes and their settings helps you get a clean, usable SVG instead of a bloated or jagged one.
What trace bitmap actually means
A bitmap stores an image as pixels with no knowledge of shapes; it is just colored dots. Tracing looks at those pixels, finds boundaries where colors change, and generates vector paths that approximate them. The output is an SVG that can scale to any size because it is now defined by math rather than a fixed pixel grid.
In Inkscape, you open an image and choose Path then Trace Bitmap to reach the dialog. Online tools hide this behind a simpler interface, but under the hood they are doing the same analysis and path generation.
Brightness cutoff, edge detection, and color modes
Brightness cutoff is the simplest mode: it turns the image into a single path based on a light-dark threshold, which is perfect for black-and-white line art or a silhouette. Adjusting the threshold controls how much of the image counts as filled versus empty.
Edge detection traces along where colors change sharply, which is useful for outlines. Color and grayscale modes produce multiple stacked paths, one per color region, letting you keep a full-color look. More colors mean a richer image but a larger, more complex SVG, so choose the mode that matches your goal.
- Brightness cutoff: one path from a light-dark threshold, ideal for line art.
- Edge detection: traces outlines where colors change sharply.
- Color or grayscale: multiple paths per color for full-color results.
When to use online auto-trace instead
Inkscape's dialog is powerful but can be intimidating, with several sliders that interact in non-obvious ways. For logos, icons, and simple graphics, a browser-based auto-trace often gets you a clean result faster, with presets tuned for common tasks like Logo or Cricut.
Online tools are also handy when you are on a device without Inkscape, or when you just want a quick preview before committing. You can always import the resulting SVG into Inkscape afterward for detailed cleanup if needed.
Cleaning up the traced result
No trace is perfect. After converting, look for stray specks, jagged edges, and unwanted background shapes. In Inkscape, the node editor lets you delete extra points and smooth curves, while removing tiny detached paths cleans up speckle that comes from image noise.
Reducing the color count or increasing smoothing before tracing prevents a lot of cleanup. Starting from a high-contrast, low-noise source is the single biggest factor in getting a tidy SVG that needs little manual work.
Tips and best practices
- Use brightness cutoff for black-and-white line art and silhouettes.
- Lower the color count before tracing to avoid an over-complex SVG.
- Start from a clean, high-contrast source to minimize speckle and cleanup.
Common mistakes to avoid
- Tracing a noisy or low-contrast image and getting hundreds of messy paths.
- Leaving a white background path that hides behind or around the artwork.
- Cranking every setting to maximum detail, which bloats the SVG without improving usable quality.
Want to skip the sliders?
Auto-trace your image to SVG online
Upload a bitmap, pick a preset, and download a clean vector SVG in seconds.
Convert an image to SVGConclusion
Tracing a bitmap to SVG is the bridge between pixels and vectors, and the mode you choose, brightness, edge, or color, determines how the result looks. Match the mode to your image and keep the source clean.
Whether you use Inkscape's Trace Bitmap dialog or a browser-based converter, a little cleanup afterward turns a rough trace into a crisp, scalable SVG.
FAQ
What does trace bitmap mean?
It means converting a pixel-based bitmap image into vector paths, so the result can scale to any size without pixelating. It is the core of any JPG-to-SVG conversion.
How do I trace a bitmap in Inkscape?
Open the image, choose Path then Trace Bitmap, pick a mode like brightness cutoff or color, adjust the settings, and apply. Then clean up stray paths with the node editor.
Which trace mode should I use?
Use brightness cutoff for black-and-white line art, edge detection for outlines, and color or grayscale mode when you need a full-color vector result.
Is an online auto-trace better than Inkscape?
For quick logo and icon jobs, an online auto-trace is often faster and simpler. Inkscape offers finer control and detailed cleanup when you need it.