
2026-07-27
Convert JPG to SVG in Inkscape: Trace Bitmap Settings & Online Shortcut
Inkscape is the leading free desktop vector editor. Master the 'Trace Bitmap' tool settings to convert JPG artwork into clean, optimized SVG vector files.
Written and reviewed by
Shahab Uddin, Founder & Product Lead. Shahab built JPEGtoSVG.com and reviews the site's conversion guides, presets, and SVG quality advice.
Quick Answer
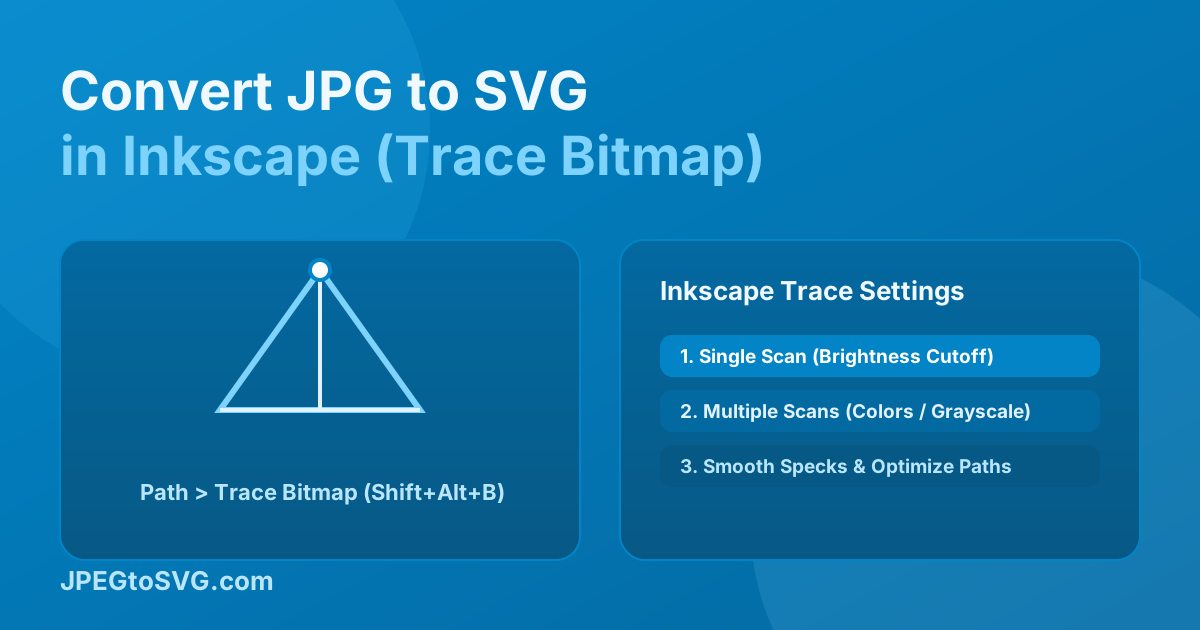
- Inkscape features the powerful 'Trace Bitmap' tool (Path > Trace Bitmap or Shift+Alt+B).
- For black and white art, use Single Scan > Brightness Cutoff (threshold ~0.45). For colored art, use Multiple Scans > Colors.
- If you want instant vector tracing without installing Inkscape, use JPEGtoSVG.com.
Table of contents
Inkscape is the open-source equivalent to Adobe Illustrator and the premier free desktop application for vector graphic design. One of its most powerful features is the 'Trace Bitmap' engine, powered by Potrace.
This guide explains the exact settings needed in Inkscape to trace JPG artwork into clean vector paths, along with a faster online alternative.
How to trace a JPG in Inkscape step by step
1. Import image: Open Inkscape and drag your JPG image onto the canvas.
2. Open Trace Bitmap: Select the image, go to Path > Trace Bitmap (Shift+Alt+B).
3. Choose mode: Use 'Single Scan > Brightness cutoff' for silhouettes or 'Multiple Scans > Colors' for full-color art.
4. Apply trace: Click Apply/Update. A new vector layer will appear over your original bitmap.
5. Delete original JPG: Move the vector path aside and delete the background raster image.
6. Save as Plain SVG: Go to File > Save As and select 'Plain SVG'.
Tips and best practices
- Always save as 'Plain SVG' in Inkscape for maximum compatibility with Cricut, web, and other design tools.
- Use Path > Simplify (Ctrl+L) to clean up anchor points after tracing.
FAQ
Why does my Inkscape traced SVG look blurry?
Make sure you delete the original raster JPG layer underneath your newly generated vector object before saving.