
2026-07-14
How to Convert SVG to PNG (and Why You'd Want To)
Converting SVG to PNG makes vector artwork compatible with email, social media, and apps that do not support SVG, as long as you pick the right export resolution.
Written and reviewed by
Shahab Uddin, Founder & Product Lead. Shahab built JPEGtoSVG.com and reviews the site's conversion guides, presets, and SVG quality advice.
Quick Answer
- Convert SVG to PNG when you need a raster image for email, social media, or apps that do not support SVG.
- Because PNG is fixed-resolution, choose your export size or DPI before converting so the image is sharp at the size you will use it.
- PNG supports transparency, so a background-free SVG stays transparent when exported correctly.
Table of contents
SVG is fantastic for scalability, but not everything accepts it. Many email clients, social platforms, and older apps only take raster formats, so at some point you will need to turn a scalable SVG into a fixed PNG.
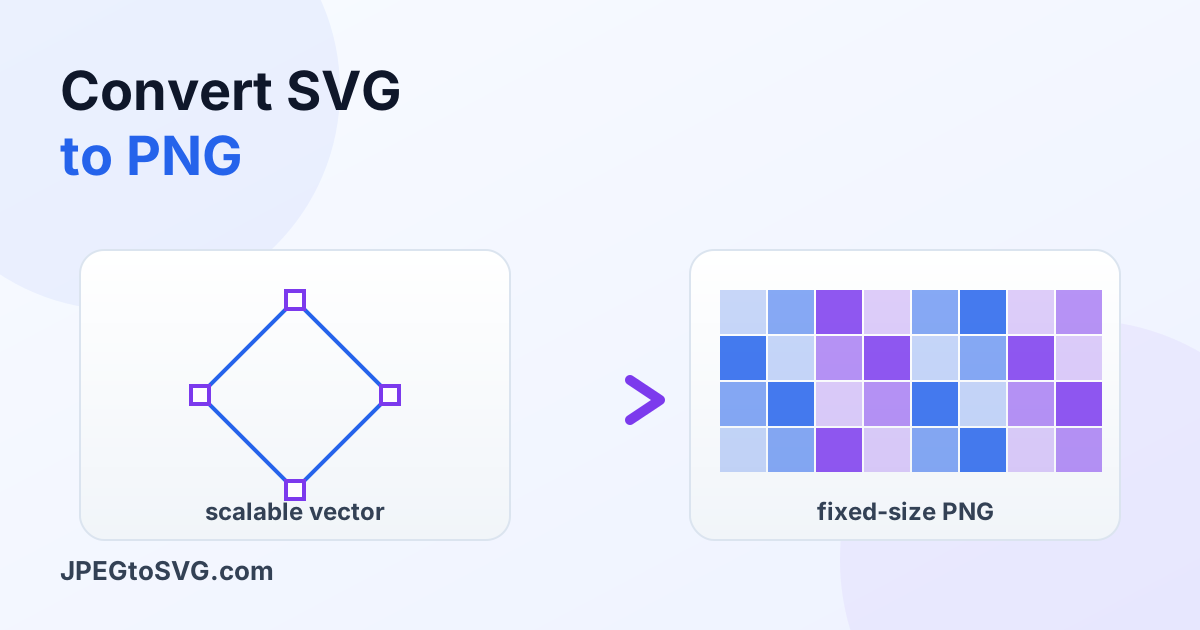
The reverse of tracing, this workflow rasterizes vector paths into a pixel grid at a size you choose. Our tool focuses on turning raster images into SVG, but understanding the SVG-to-PNG direction is useful, and the key is picking the right resolution so nothing looks soft.
Why convert SVG back to PNG
SVG support is common on the web but far from universal elsewhere. Email newsletters, many social media uploads, marketplace listings, and some presentation or chat apps expect PNG or JPG. Exporting a PNG guarantees your graphic displays anywhere without a broken-image icon.
PNG is also the safe choice when you want a pixel-exact result, such as a fixed-size app icon or a graphic that must match a spec. It removes any rendering differences between platforms, because the image is already a finished grid of pixels.
Choosing resolution and DPI
Since PNG is fixed-resolution, the size you export at matters a lot. For screens, export at the pixel dimensions you need, and consider exporting at two or three times the display size for high-density retina screens so the image stays crisp. Exporting too small and scaling up later reintroduces the blurriness SVG was meant to avoid.
For print, think in DPI. A rule of thumb is around 300 DPI at the physical print size, which means a large pixel dimension. The advantage of starting from SVG is that you can export at any resolution you want, so pick the target size first and export once at that scale.
- Decide where the PNG will be used and its final size.
- Set the export dimensions, using 2x or 3x for retina screens.
- Confirm transparency is enabled if you need a clear background.
- Export and check the PNG at its intended display size.
Keeping transparency
One reason to export PNG rather than JPG is transparency. If your SVG has no background, a PNG can preserve that clear area so the graphic floats over any color. JPG cannot do this, since it always fills the background, usually with white.
When exporting, make sure the background stays transparent rather than being flattened to a color. Check the result over a dark or colored surface; if you see a solid rectangle, the export flattened the background and you should redo it with transparency turned on.
Browser and online methods
The simplest way to rasterize an SVG is in a vector editor like Inkscape or Figma, which both offer an Export as PNG option with a resolution field. Design apps give you precise control over size and transparency in a couple of clicks.
There are also browser-based and online SVG-to-PNG converters for a quick one-off. Since our tool specializes in the raster-to-SVG direction, the practical workflow is to keep your scalable SVG as the master and export a PNG whenever a platform needs one, choosing the resolution to match.
Tips and best practices
- Export at 2x or 3x the display size for crisp results on high-density screens.
- Keep transparency on and use PNG, not JPG, when the background must stay clear.
- Treat the SVG as your master and export fresh PNGs at each size you need.
Common mistakes to avoid
- Exporting a small PNG and scaling it up later, which brings back blurriness.
- Choosing JPG when you need transparency, so the background fills with white.
- Forgetting to set a print-appropriate resolution and getting a soft, low-DPI export.
Working the other direction?
Convert your image to SVG first
Turn a JPG, PNG, or WebP into a scalable SVG master you can later export to any size you need.
Convert an image to SVGConclusion
Converting SVG to PNG trades scalability for compatibility, which is exactly what you want when a platform will not accept vectors. The one decision that matters most is resolution, so choose your export size before you rasterize.
Keep the SVG as your flexible master and generate PNGs on demand. That way you get the best of both: a scalable source and a fixed-resolution export ready for email, social, and any app that needs it.
FAQ
Why would I convert SVG to PNG?
PNG is needed for email, social media, and apps that do not support SVG. Exporting a PNG guarantees your graphic displays everywhere as a fixed-resolution image.
What resolution should I export an SVG to PNG at?
Export at the final display size, and use 2x or 3x for retina screens. For print, aim for around 300 DPI at the physical print dimensions.
Does SVG to PNG keep transparency?
Yes, if you export with transparency enabled. PNG supports a transparent background, so a background-free SVG stays clear, unlike JPG which fills it.
What is the easiest way to convert SVG to PNG?
Use a vector editor like Inkscape or Figma and choose Export as PNG with your target resolution, or use an online SVG-to-PNG converter for a quick one-off.